Each Table can support an unlimited number of Views to display the specific column(s) of data desired (including columns from related tables), as well as nested Views that can be “embedded” from other tables, as follows:
Creating a New View
1. In the left pane under the Views header, choose [+Create]

2. The New View form is displayed. Starting with the General section, choose which Table the View will originate from. Give the View a name (required) and an optional Description (which will be displayed in the gray space below the View Name in each View card.)

Please note, that if the Table is changed at any point, all of the sections below may be reset.

3. Under the Items section, you will see two columns for [Table Items] and [View Items]. To add or remove columns in the View, select a field in one of the two lists and click and drag to the other column. Reorder the items under the "View Items" column by dragging each item around to it's desired placement in the view. Only the columns in the right hand [View Items] list are included in the View and in the order as they are shown.
If you don't see the option to included a related table's field or nested view, you would first need to create a View for that related table. Once a View exists for the Table in the application, the fields and/or nested view will be available for selection in the [Table Items column.
Note that the [Table Items] column includes items for both [Fields] and [Views]. [Field] item types that are dragged to the [View Items] column will be displayed as a standard column header with whatever data is present for any relevant record(s). [View] item types that are dragged to the [View Items] column will display a link to the [View] designated for the linked table. These are referred to as “nested” Views and create a powerful capability to “drill down” from a single View into other Views of related records. (Please note that the nested views are not able to changed on the fly (while viewing the view) so ensure you're setting the desired nested views in your View)

3b. Toggle on/off barcode graphics, images and filtering for views.

4. Preset filters may be applied to the View under the Filter section. The applied filters are visible to the user, but are not removable or editable at the View's view only level. The only way to adjust filters is by modifying them through the edit capability of the View (Updating Views).
In the Filter section, you may enter multiple logical filters.
A. Match All of the following conditions will ensure the results returned include all of the filters in the logical group.
B. Match Any of the following conditions will ensure the results returned include records matching one or more of the filters in the logical group.
C. To add a new row, click [+Add Row]
D. To remove a row, click the Red X.
E. To add a group of filters, click [+Add Group]. This creates a new logical group that enables filters to be set by any or all conditions.
F. Once parameters are set for a filter, there is an opportunity to clone a single level of filter criteria by clicking the clone button. This creates another line identical to the one cloned from.

5. In the Settings section, you can control the following attributes of the View:
Select a default Field to sort by (sorting can be changed within the View by the user choosing a column heading, but whenever the View is selected again it will be restored to the default Sort field)
Define the Sort direction (Ascending vs. Descending) that will apply to the default Sort Field
Define the pagination (number of records per display page).
Choose Summary to tally integer fields
The option to mark a View as protected is typically reserved for ShotFlow employees; this setting ensures that only users with the permissions to edit Protected Views can edit the View. A user with permissions to edit a view, but not with permissions to edit a Protected View would be restricted from making changes to this view.
Choose the Default Display for the View. Grid is the default value and shows records in a row form, while Card will show each record as a customized card. Note: This setting will apply to the View, not the User, so all users with access to the view will land on the default value that is set. The option to toggle between card/grid will still be available to every user, but is session based. This means the user choice persists until the browser is closed or the page is refreshed, and it will override the default setting, but only for the user.
Choose a file field that includes an image for the Card View display.
Choose which View should display when in Card View and viewing a single record.
Choose which Table's Record Actions are available on the View (Create new records, take actions on existing records). Note: When creating a new View, only the originating table is selected. Additional tables can be selected to take action on the related records (actions include create, clone, edit and delete.) provided at least one field from the related table is included in Items. For example, if you want to create new Shipments on a Sample view, you must ensure at least one field from the Shipments table is included in Items on the Sample view.

6. Under the Actions section, you will see two columns for [Table Actions] and [View Actions]. To add or remove actions in the View, select an action in one of the two lists and click and drag to the other column. Only the actions in the right hand [View Actions] list are included in the View and in the order as they are shown. Read more about creating Actions here: Bulk Record Actions (SuperViews Release)

Cloning an Existing View
In the event that an existing View mostly meets the need, that View can be cloned to provide a starting point for a new View that may need to serve a different purpose.
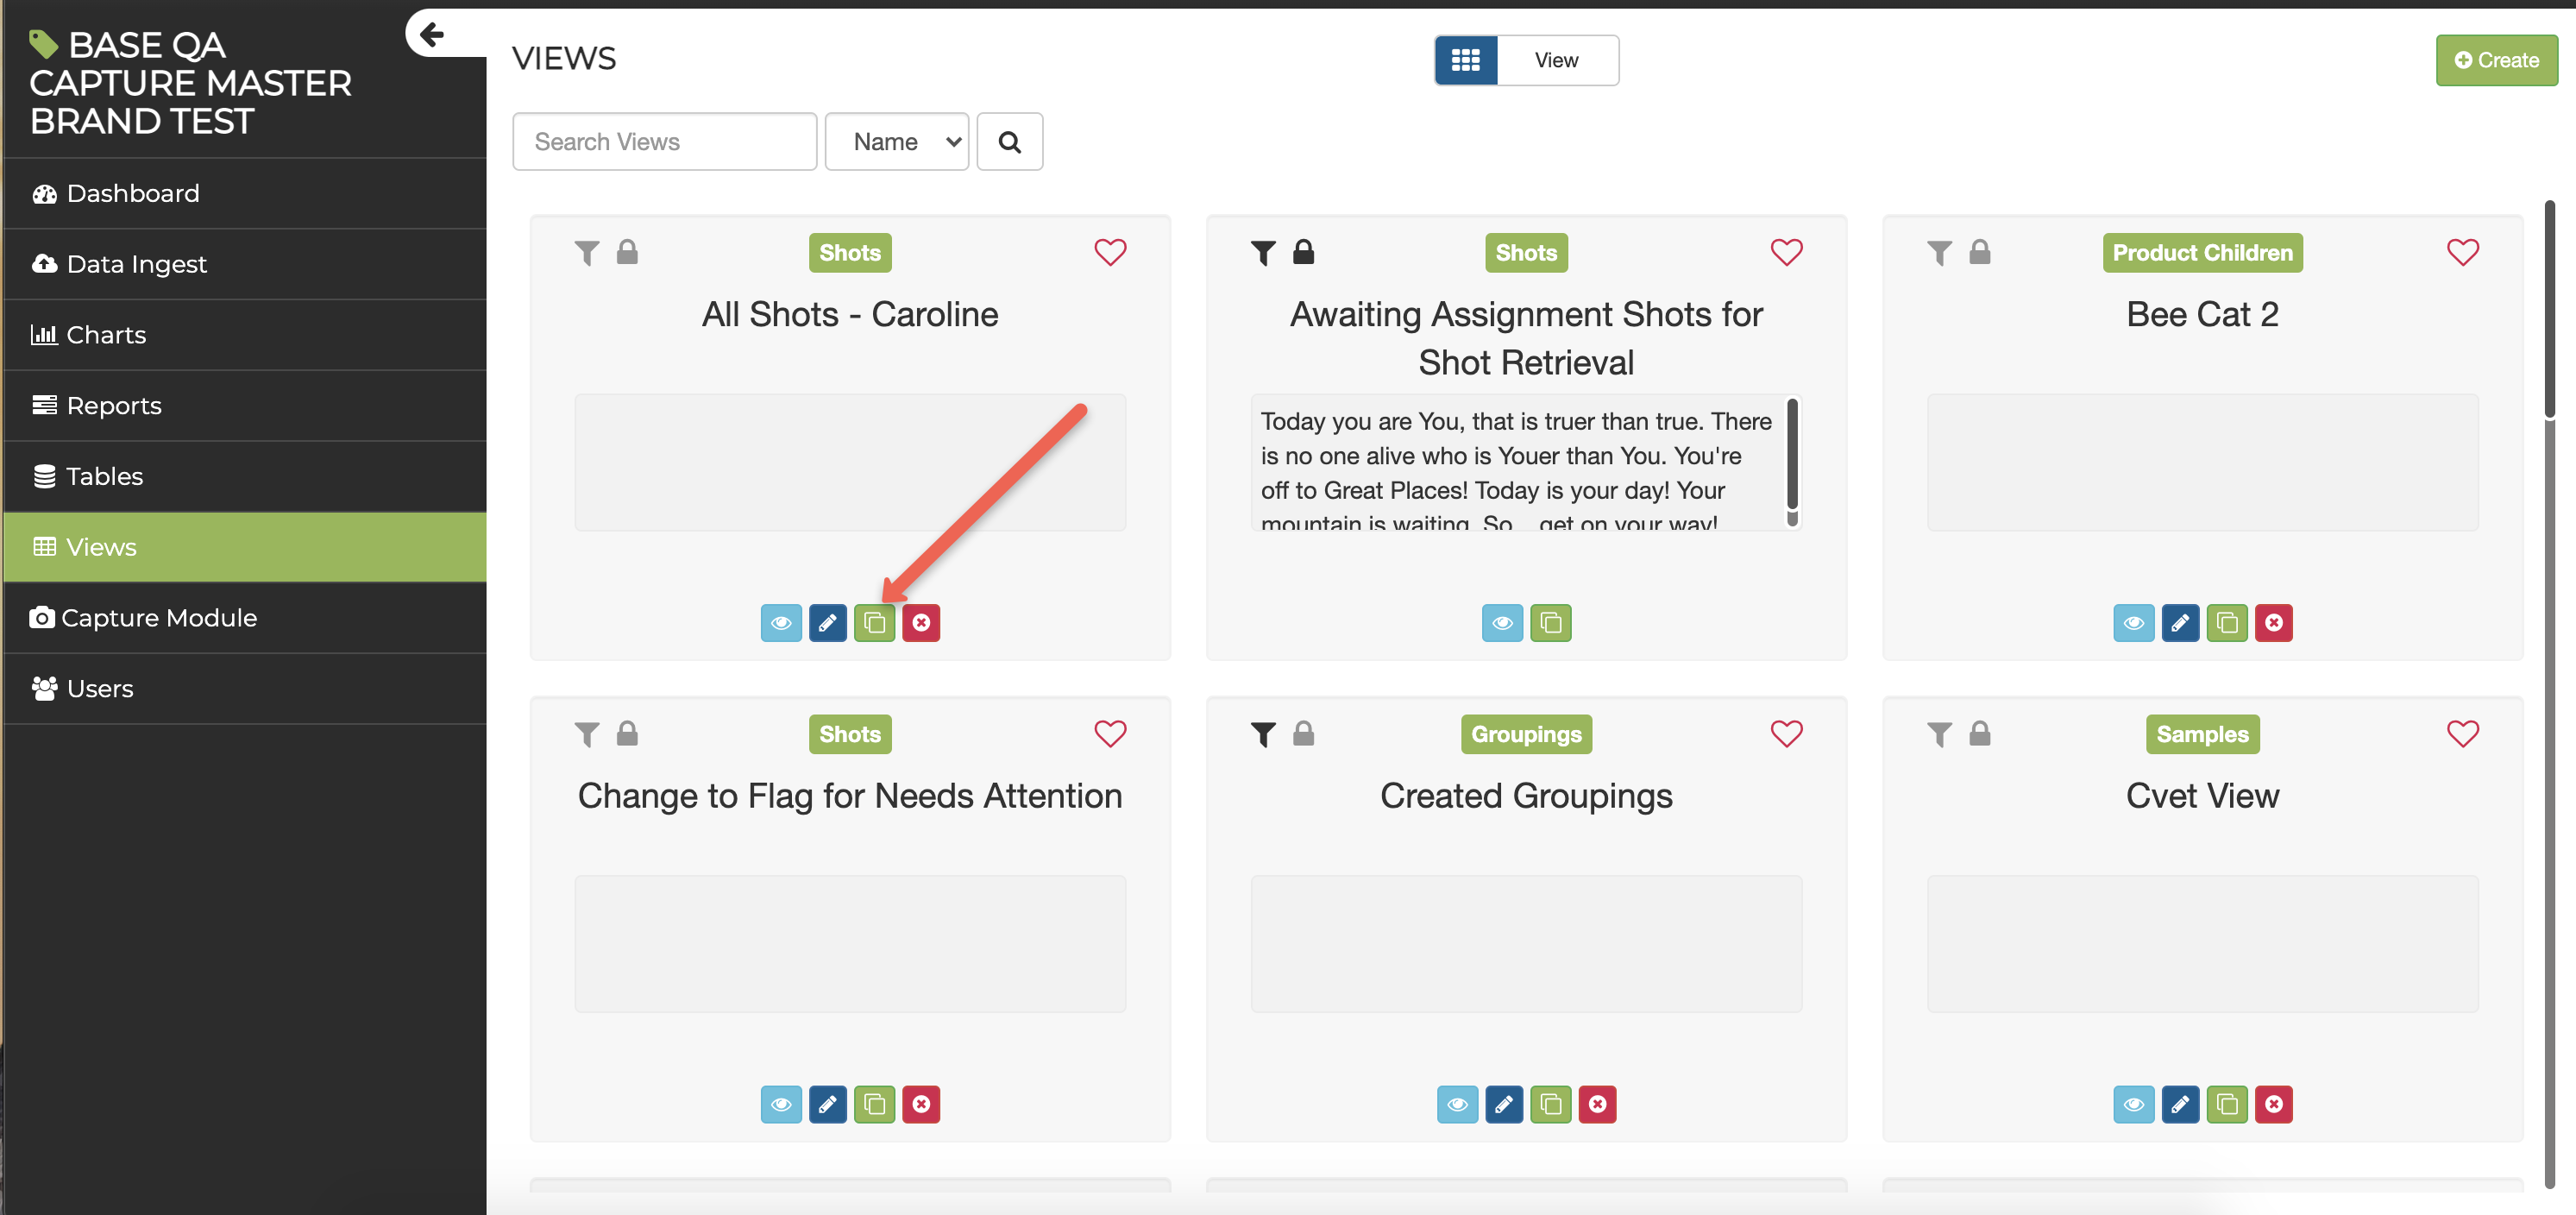
1. In the left pane under the View header, locate the View you wish to clone.
2. Choose the Clone icon.
3. Follow Steps 2-6 in "Creating a New View" above.
Was this article helpful?
That’s Great!
Thank you for your feedback
Sorry! We couldn't be helpful
Thank you for your feedback
Feedback sent
We appreciate your effort and will try to fix the article